
Level up on security measures and ownership of your brand’s best storytelling assets with our latest product feature release: Watermark Downloads.
Generally, watermarks allow creatives and organizations the ability to protect their brand’s intellectual property, boost brand visibility, and send iterations of works-in-progress discreetly.
Not sure if this feature is for you? Here’s where Watermark Downloads will add an extra layer of safety to creative collaboration:
- If you work with external vendors or partners on confidential graphic design deliverables like sales presentations, annual reports, custom co-branded content, new website layout mockups, and even logos, using watermarks ensures brand ownership and prevents tampering.
- Photos of people are always personal, whether they’re professional headshots, live event images, or decisive moments captured to share with the media—if there’s a photo release form involved, a watermark should be too.
Follow the end-to-end breakdown below to learn how to implement and use watermarks on the PhotoShelter for Brands platform.
How to Select and Upload a Watermark
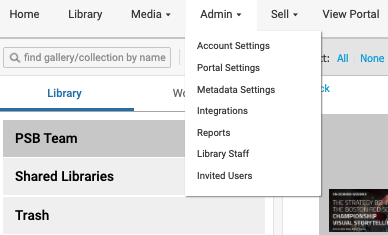
Step 1: Click the Admin dropdown in the main Library navigation bar to find the feature under Portal Settings > Security. Note: All library staff members have access to these settings.
Step 2: Upload an image from your computer or drag an image (your logo) onto the file target pictured below.

Step 3: Click “Apply Changes” in the bottom right corner.
Step 4: Preview your watermark on the example image located at the bottom of the page and note if any adjustments need to be made:
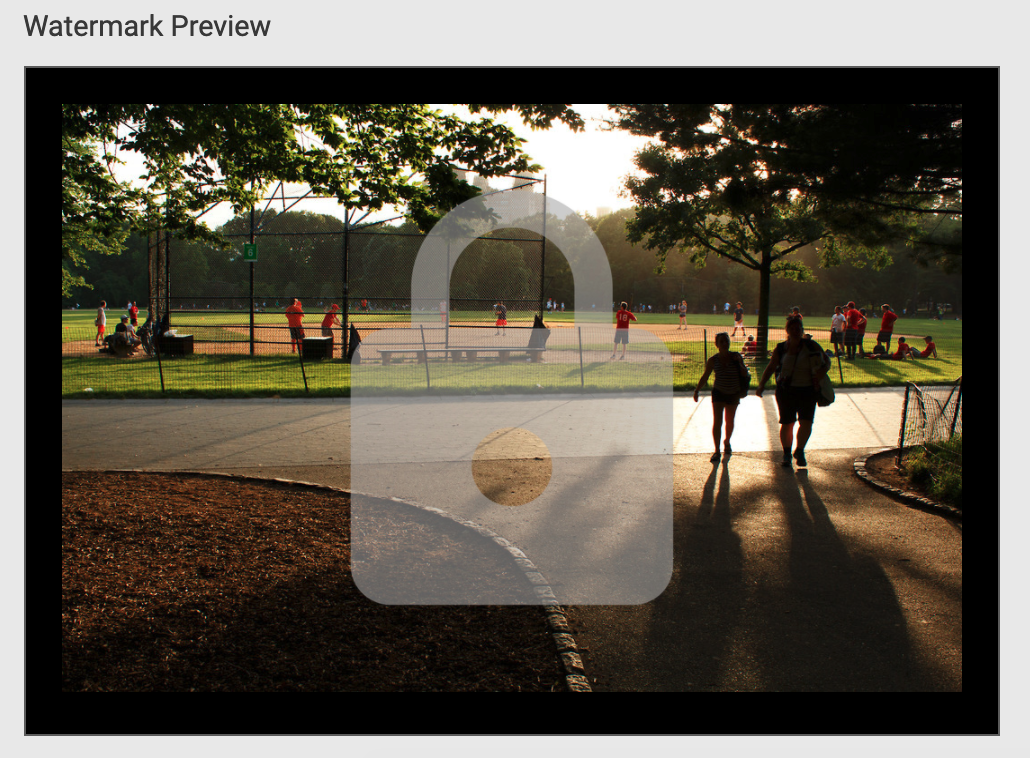
NOTE: PhotoShelter will display the watermark relative to how it appears on a 2040px image at 72dpi. For best results, we recommend uploading a transparent 24bit PNG file.
How to Enable Watermark Downloads
Once you upload the watermark to your PhotoShelter for Brands account, you have to enable the setting across the intended Collections and Galleries to allow users to download the images with a watermark.
Step 1: Open the Portal Visibility & Access settings for a selected Gallery or Collection.
- Select JPEG – original file as the file type to be downloaded, then click the toggle button next to Watermark JPEG Downloads.
- Then, click Save.
The Benefit: Watermark downloads now offer an additional level of brand ownership and security for your images.
The Limit: Watermark Downloads can only be applied to JPEG image file downloads at this time.
You now have the choice to give anyone you’ve given Portal access to the ability to download your images with or without a watermark. Brand ownership secured!
Read our Watermark Downloads Support Page article for more information on feature implementation and reach out to a Customer Success Manager if you have any further questions.